How-to: Winter Glitter Jars
What’s inside this article: Step-by-step instructions for creating mesmerizing winter-themed glitter jars, along with an explanation of how to use them to help with emotional self-regulation.
Disclaimer: This post contains affiliate links.
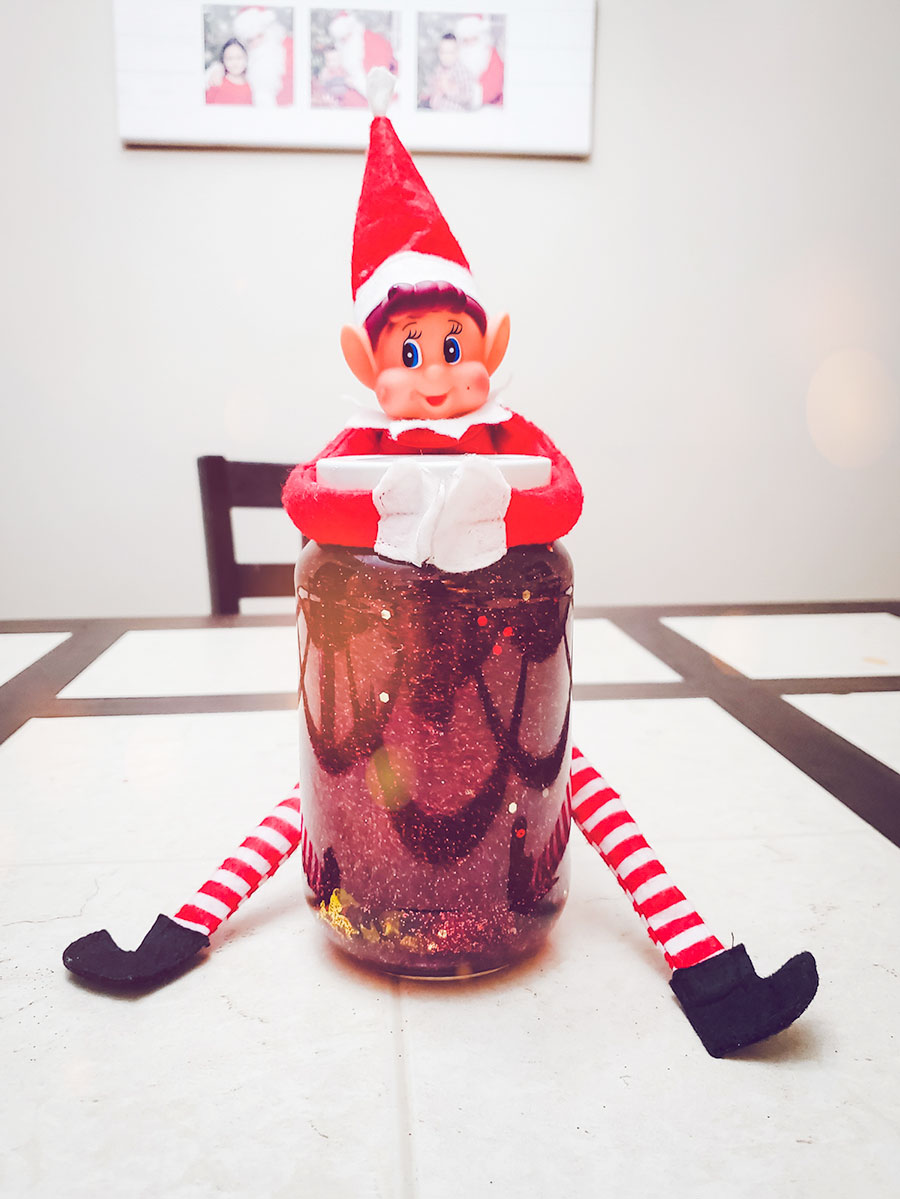
Our elf was busy last night making winter-themed glitter jars to leave for the kids to find in the morning. These are a great activity to do with the kids as a winter craft – we’ve made a few versions of this before.
They can also be used as a calming tool to help kids with emotional self-regulation. I’ll explain that in a little more detail.
Using Glitter Jars for Emotional Regulation
Glitter jars are a great tool for emotional regulation. They provide calming visual input, that can help children (and even adults) relax, refocus, and calm down. But there’s more to it than that.
Glitter jars can also be used as part of a mindfulness exercise to help children understand and manage their emotions effectively.
Using Glitter Jars to Explain Emotions
You can create a simple, relatable narrative around the glitter jar to help children connect the swirling glitter with the way their minds feel when they’re upset or overwhelmed.
When your child is calm and at their baseline, sit down with them and explain:
- The Swirling Glitter as a Metaphor for Thoughts and Feelings: “When you’re upset, your thoughts and feelings are like the glitter in this jar when you shake it. They swirl around quickly, making it hard to think clearly. It’s like having a ‘tornado brain,’ where everything feels chaotic and overwhelming. But just like the glitter eventually settles to the bottom of the jar, in time, your thoughts and feelings will settle down, too”
- Different Sizes of Glitter Representing Different Challenges: “Some of the glitter pieces take longer to fall to the bottom than others, just like some feelings or problems take more time to work through. That’s okay. They will eventually settle, and when they do, things feel clearer, and it’s easier to figure out what to do next.”
- Pausing and Observing to Let Thoughts Settle: “But if you take a moment to stop, breathe, and just watch, you’ll notice the glitter starts to settle. It’s the same with your thoughts and feelings. By being still, focusing on your breath, or practicing mindfulness, you can allow your mind to calm down too.”
Adding Glitter Jars to Your Calming Corner
A calming corner is a designated space where children can go to self-regulate when they feel overwhelmed. A glitter jar is a great emotional regulation tool for your calming corner because it:
- Offers Immediate Visual Focus: Watching the glitter move gives the brain something soothing to focus on, breaking the cycle of intense emotion or overstimulation.
- Promotes Mindfulness: Observing the glitter encourages the child to slow down, breathe, and be present in the moment.
- Encourages Self-Regulation: The jar gives the child a tangible way to understand and practice calming down on their own terms.
In your calming corner, keep the glitter jar within easy reach alongside other sensory tools like stress balls, weighted items, or soft textures.
Encourage your child to use the glitter jar whenever they feel upset, explaining that it’s okay to take a break and watch the glitter until they feel ready to talk or move on.
Learn more about how to build the ultimate calming corner here.
Use As A Tool for Emotional Conversations
A glitter jar can open the door to talking about emotions. After using the jar, ask your child reflective questions like:
- How did it feel to watch the glitter settle?
- Do you think your thoughts feel clearer now?
- What solutions can we come up with together?
With regular use, glitter jars can become a trusted tool in your child’s emotional self-regulation toolkit, helping them navigate their feelings with patience and clarity.
Before You Begin:
Prep:
Prep the area where you’ll be making your jars before you begin.
Glitter is extremely hard to clean up if there are any spills.
Lay a towel or blanket down over the entire surface where you’ll be working. If any glitter spills on the towel, you can simply lift it up, take it outside, and shake it off.
Things to Consider
You’ll know exactly what I mean once I go over the full instructions step by step in the next part, but there are a few things to keep in mind as you complete this activity.
- The more glue you add to your jar, the slower the glitter is going to move and swirl around when you shake it.
- It’s a good idea to use different-sized glitter because you get different swirling effects, and they take different amounts of time to settle. But, if you go overboard on that teeny tiny glitter, it can block out the other glitter and confetti in your jar, and sometimes it won’t ever completely settle.
- Take it easy on the food coloring, If you add too much the water gets really dark and it’s harder to see the shimmering of the glitter. A couple of drops is enough.
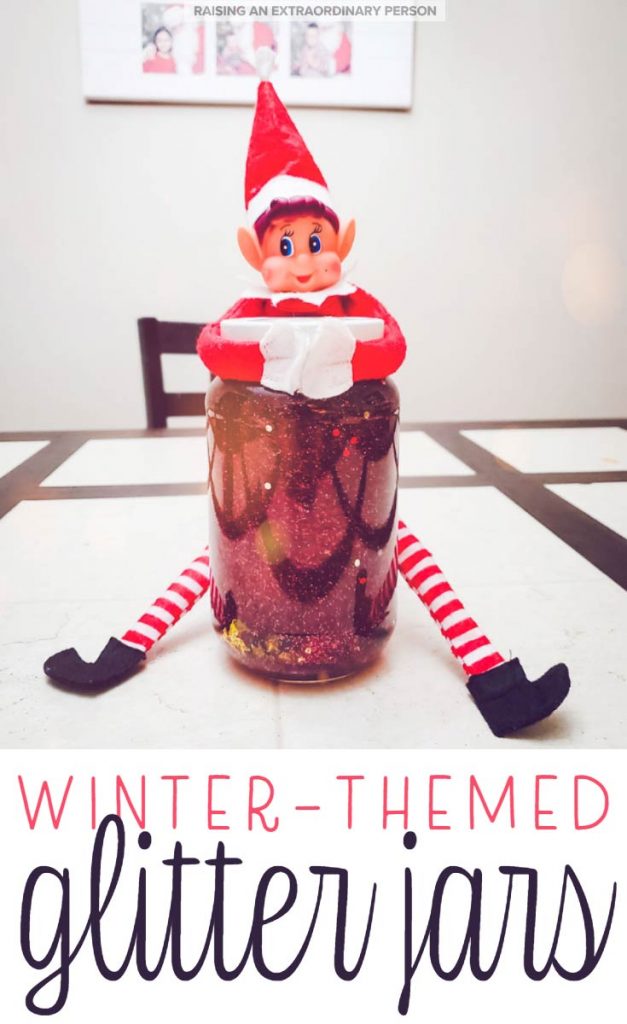
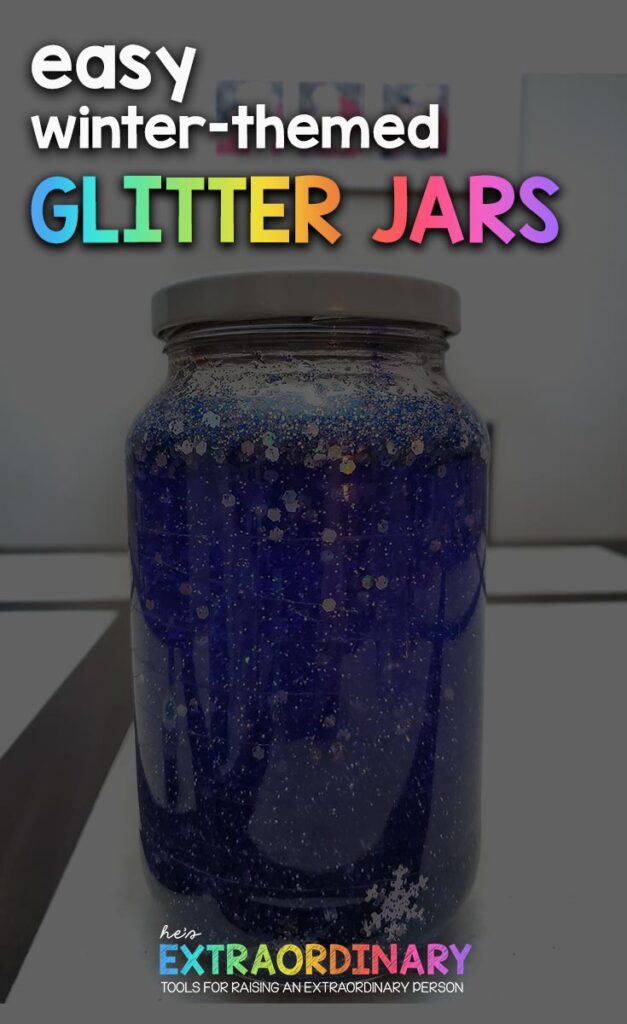
Winter-Themed Glitter Jars
A simple, yet mesmerizing, winter-themed glitter jar.
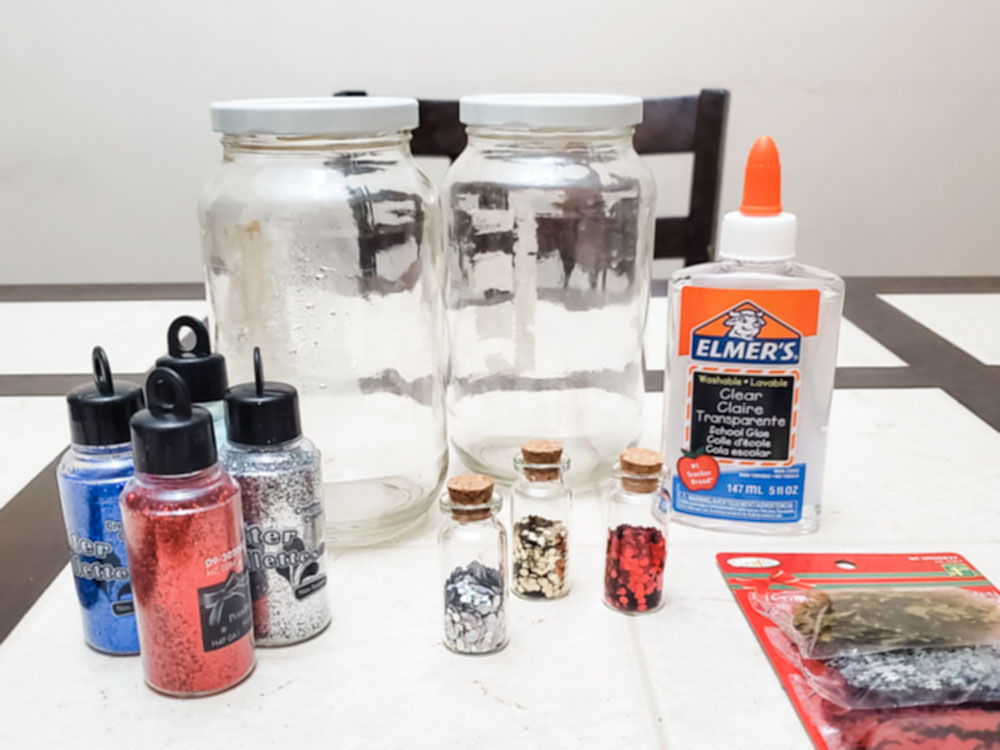
Materials
- Empty, clear jar
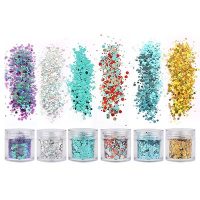
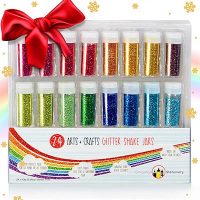
- Glitter, assorted sizes, shapes and colors
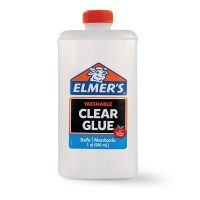
- Clear liquid glue
- Hot water
- Food coloring
Instructions
- Gather all of your supplies and prep the area where you'll be working.

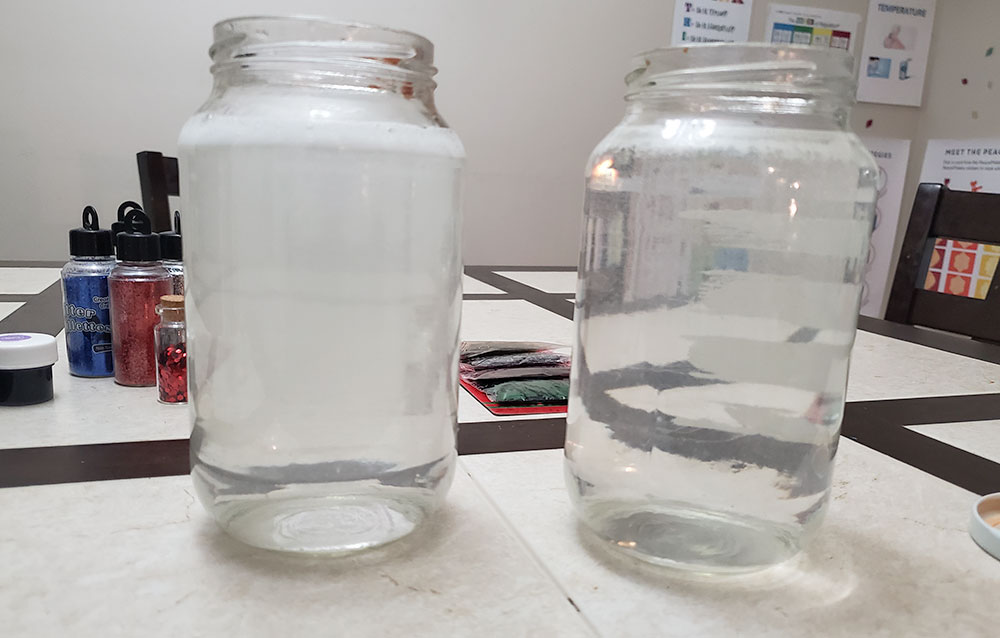
- Fill the jar with hot tap water, leaving about 2 inches of space left at the top of the jar. * It's important that the water is hot, otherwise the glue won't mix correctly. *
- Add clear school glue to the jar. It's up to you how much you want to use, but keep in mind that the less glue that's in there - the faster the glitter is going to settle. I used a full bottle of glue in these jars. You will see the glue sink to the bottom of the jar.
- Secure the lid tightly, and shake the bottle vigorously, to mix the glue and water together. It may look bubbly or foaming at first but it should return to normal quickly. This is shown in the image below.

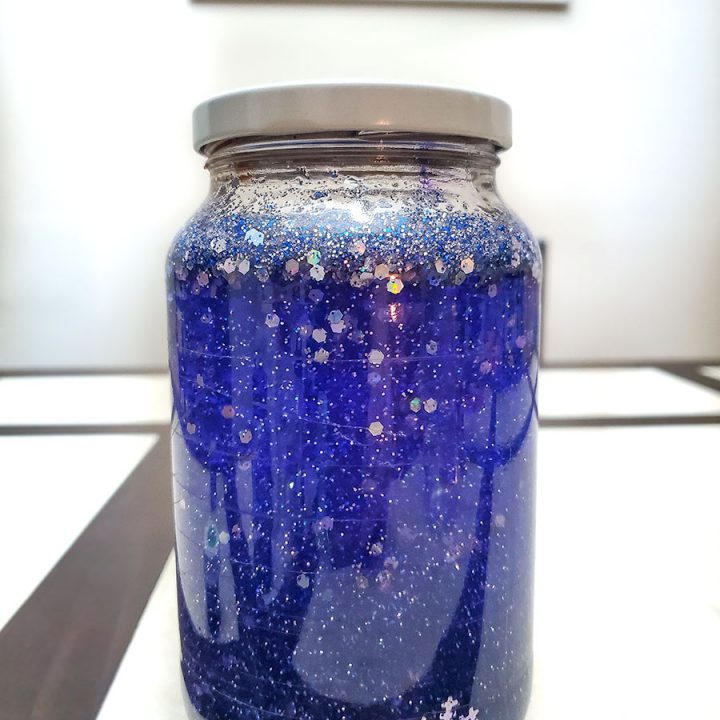
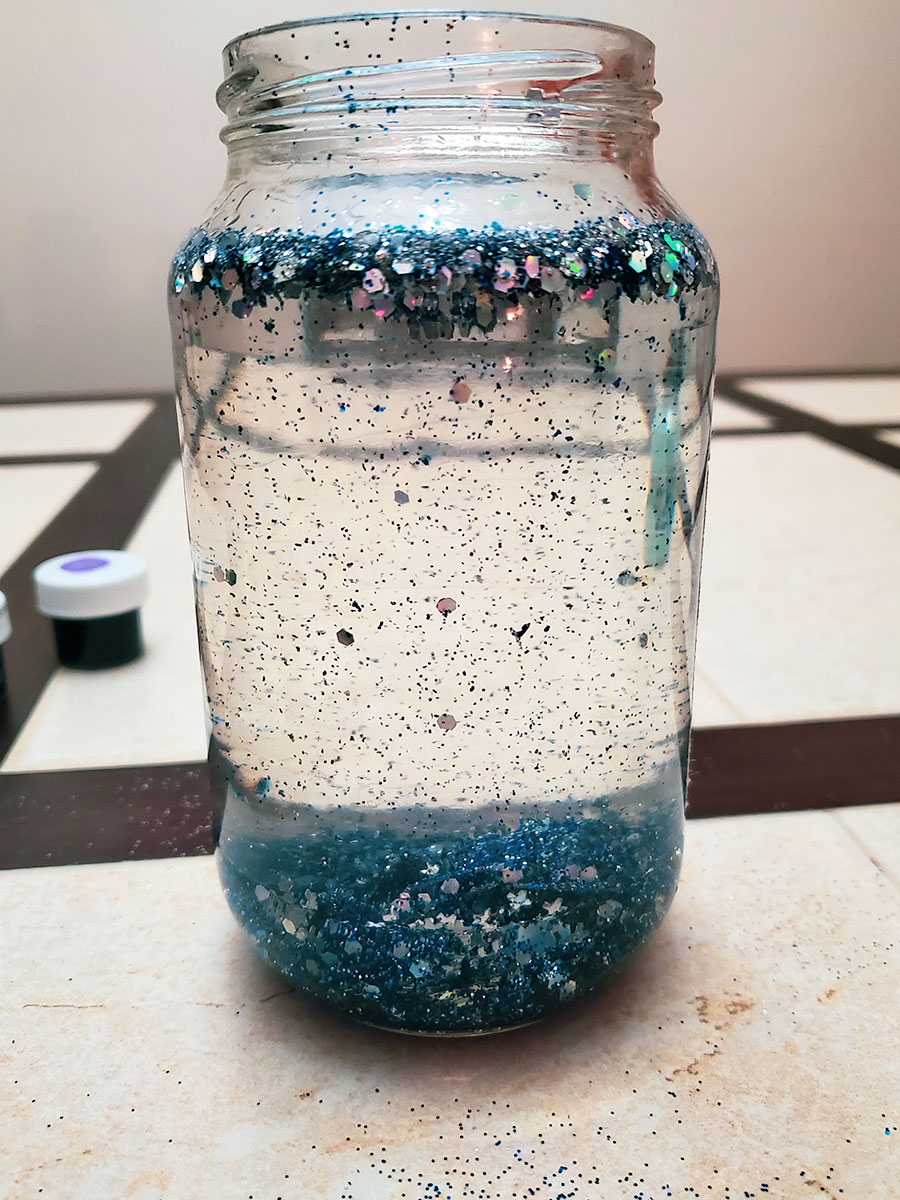
- Add your glitter to the jar. It's a good idea to use several different sizes of glitter and confetti in your jar to get the best effects. The different sizes will move and settle at different speeds. Since this is a winter-themed jar, I used Christmas confetti - there were trees, angels, snowflakes, and stars. I also used a lot of very fine glitter and some medium-sized glitter.
- At first, all the glitter will float at the top of your glitter jar. But if you wait, it will start sinking to the bottom. If you are feeling impatient, go ahead and pop the lid on and give the bottle a shake. Wait for the glitter to settle at the bottom before you proceed to the next step.

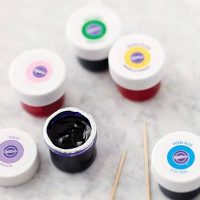
- Add a very small amount of food coloring to the jar. You can add any color of your choice. However, if you use too much the water gets very dark and it makes it difficult to see the glitter. For these jars, I used gel food coloring for icing, but I've done it with liquid food coloring as well.
- Last, but not least, top up the jar to the rim with water, secure the lid and give it a shake!

Notes
It's not necessary, but you may want to actually glue the lid shut because I don't even want to think about what cleaning this up would be like if it spilled.
If you use hot glue and don't get the glue on evenly, it can actually cause it to leak. I glued the lids shut on these using some leftover nail glue I had laying around.
Recommended Products
Suggested products are affiliate links.
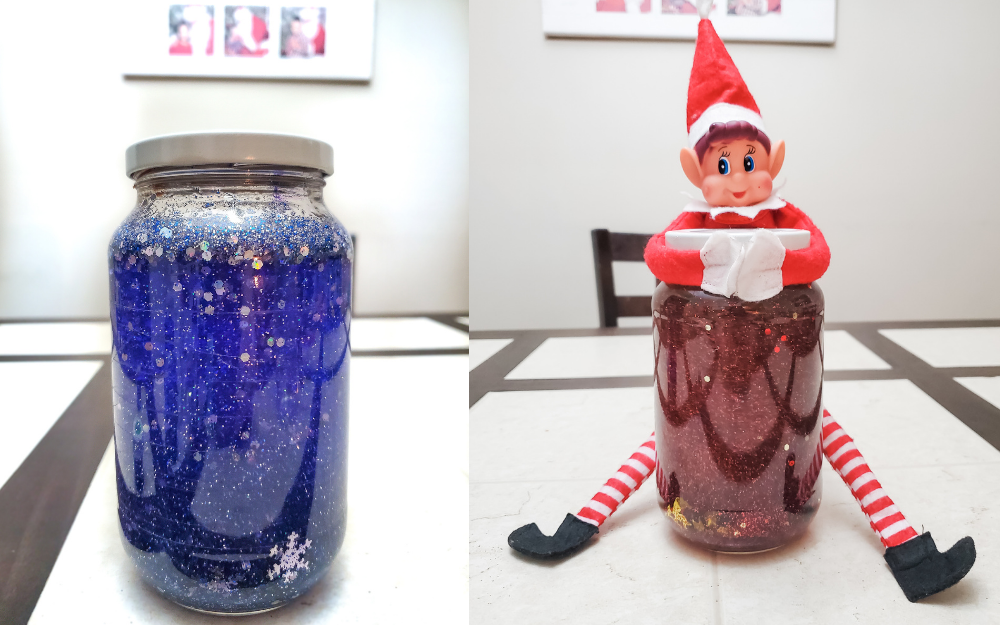
The best part of this activity is that no two jars turn out exactly the same.
Everybody’s glitter jar is unique in its own way. This makes it fun to do with siblings so you can compare the different looks when you’re finished.